Setting up Authy
These instructions will show you how to set up authy on Windows.
Because Authy does not integrate directly with your account, you will need to use a web browser for portions of this process.
You will also need to install Authy on your chosen device. Installers for Authy can be found on the Authy Download Page.
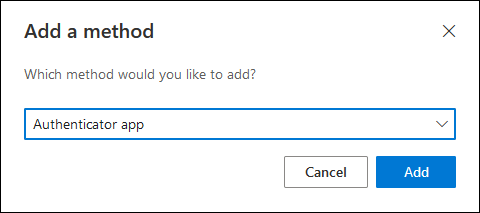
Either during your first time MFA setup (which will happen automatically when MFA is enabled on your account), or by selecting "Add Method" from your account Security Info page in your browser, you will see the "Add a Method" dialog box.
- From the “Add a Method” box, select “Authenticator App” and click “Add”
- Click “I want to use a different authenticator app”
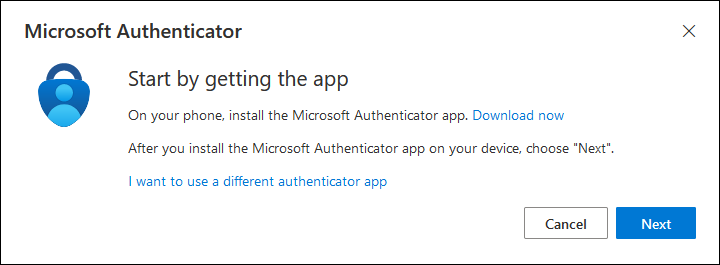
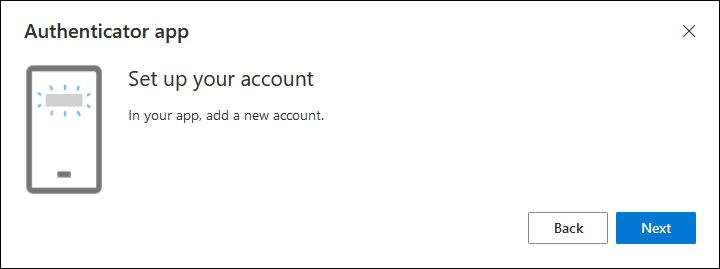
- Click “Next”
- Click “Can’t Scan Image?”
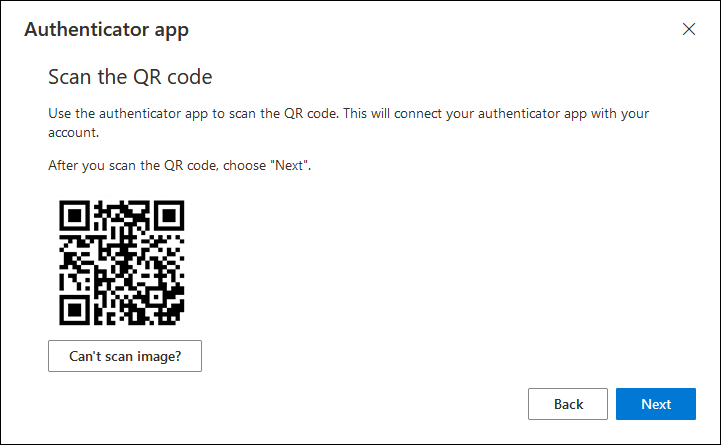
- Keep this screen up and open Authy on your chosen MFA Device. (This guide will show the windows desktop client)
You will use the secret key in a later step.

- Launch Authy, enter your phone number and click submit.

- Choose a verification method that works for you.
In the example below, we will use SMS.

- Enter the code you receive into the boxes shown.

- Click the (+) icon to add a new account to Authy

- Enter the secret key from step 5

- Add a descriptive name to the account, choose a color, and select “6-digit” for token length., then click Save.

- Authy should now be producing codes.

- In your browser, on the screen from step 5, click Next.
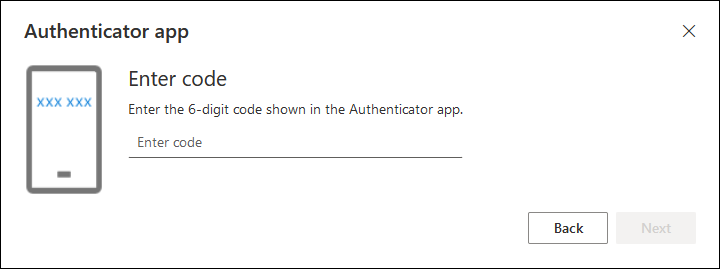
- Enter the code currently displayed by Authy and click next to complete the setup.
If your account has MFA enabled, either by self-enrollment, or by IT as part of the Student MFA rollout, you will now be prompted to use MFA each time you log in.