Microsoft Authenticator app is the recommended method. However, if you wish to choose Google Authenticator as your second-factor for account verification, this guide will assist you in setting up the Google Authenticator app as your MFA method.
Begin by downloading Google Authenticator on your chosen device:
![]()
Note: To setup MFA using Google Authenticator app, two devices are mandatory. PC or Laptop is required for registering the authentication method and cell phone will be used to download the Google Authenticator app and scanning the QR code described in the steps below:
Once you try to sign in to an application (Office 365 or one.kpu.ca applications), you will be asked to provide more information to register with the MFA (after entering your password). As shown in the following window, please click "Next."
Image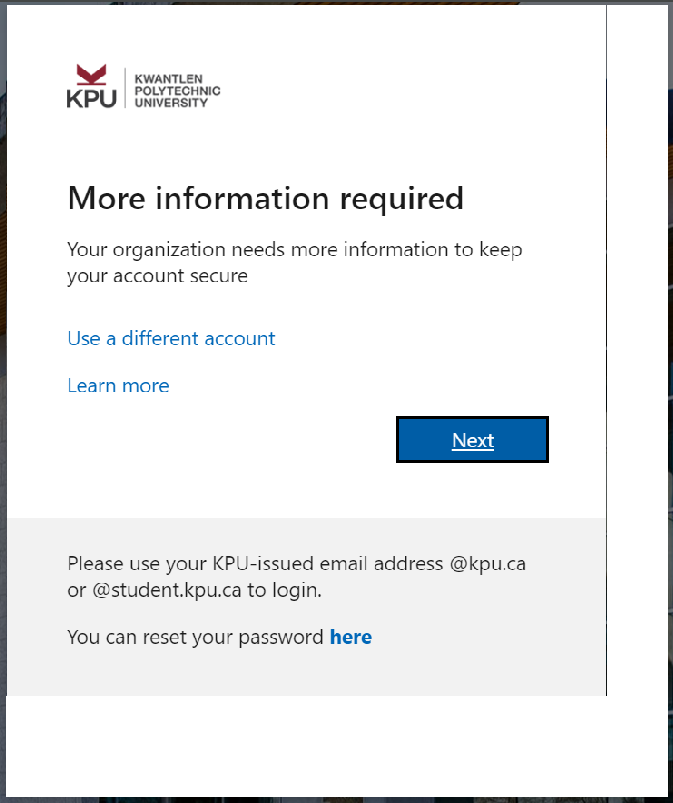
Click “I want to use a different authenticator app”
Image
Click “Next”
Image
Keep this screen up and open Google Authenticator on your chosen MFA Device.
Image
Launch Google Authenticator, and tap "Get Started"
Image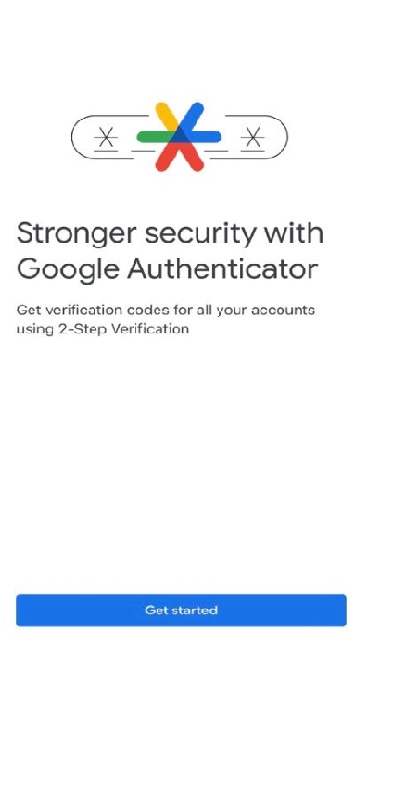
Choose "Sign in", if you wish to connect this to your personal Google account, or "Use without account" if you do not.
Image
Tap "Add a code"
Image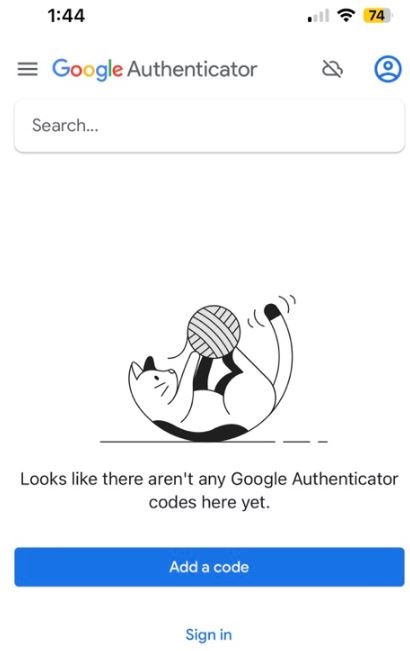
Choose "Scan a QR Code"
Image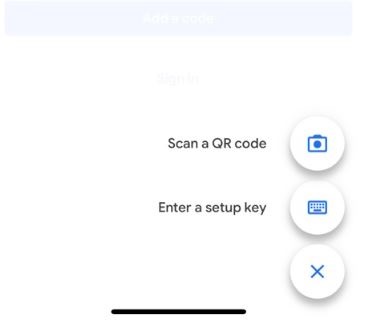
Scan the QR Code on the screen from step 4.
Image
Your app should now be displaying codes.
Image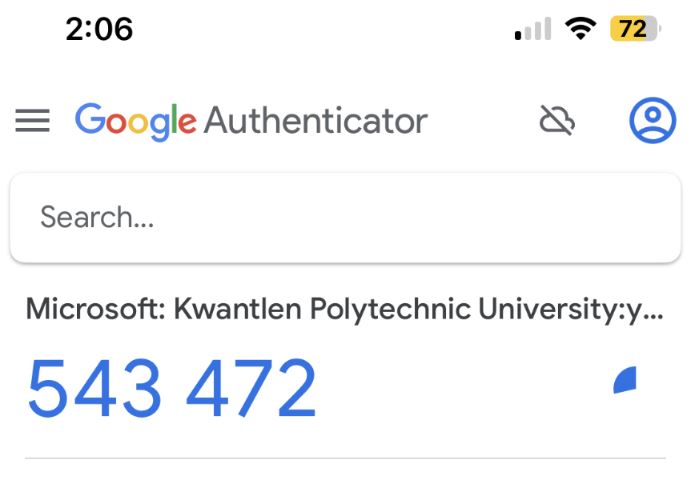
Enter the code currently displayed by Google Authenticator and click next to complete the setup.
Image
If your account has MFA enabled, either by self-enrollment, or by IT as part of the Student MFA rollout, you will now be prompted to use MFA each time you log in.